Showing posts with label 1:160. Show all posts

Friday, January 30, 2015

Keepin' on building

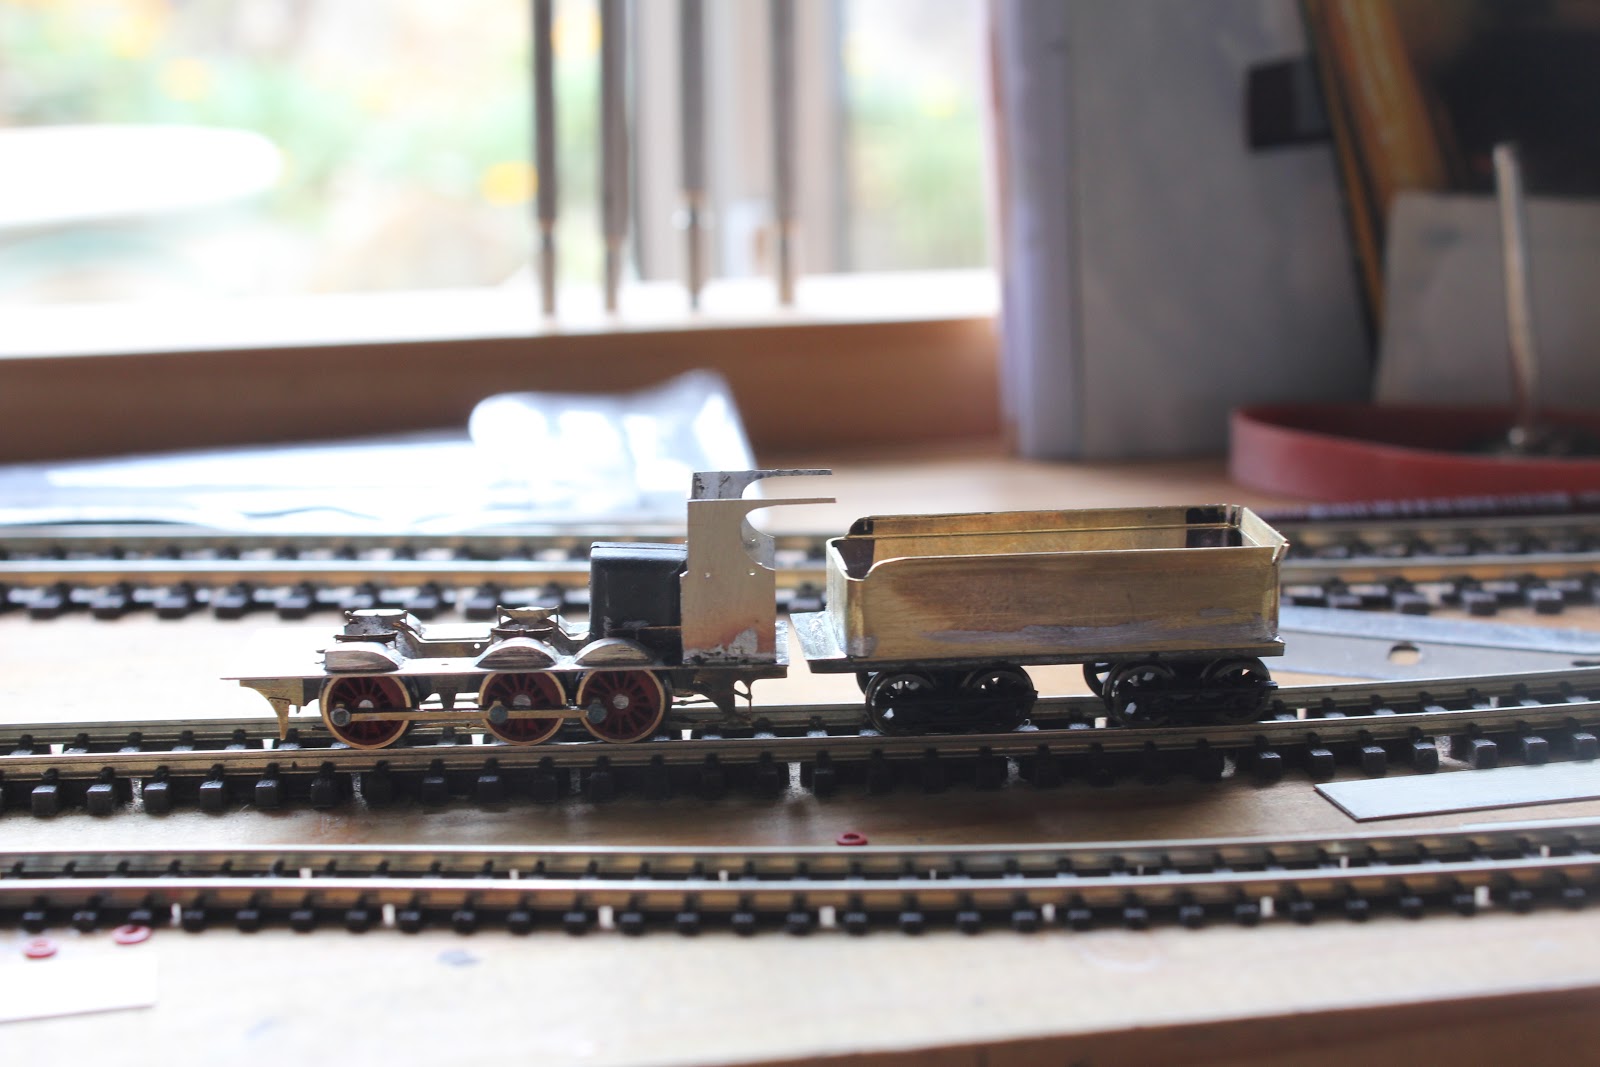
First post for the new year, and something new. I have recently been working on a Baldwin Steam Tram Motor in N scale, the chassis, which I initially had a go at in printed circuit board turned out to be a bit of a failure, so I reverted to my usual methods of using brass with bearings and whipper pickups made from Phosphor Bronze. A Caramel N motor is used with gears from a Life Like switcher bogie used to transmit motion to drive a single axle with side rods being used to transfer power to the other set of wheels.



I have also completed models of:


3229 - with 6 wheel tender


3229 was inspired by a photograph in Train Hobby Publication's book "Central - The Steam Station" and the tender is fairly unusual in that the hungry boards are flush with the tender sides. Archer Fine Transfers form the rivet detail and the motor is mounted in the tender with a shaft across to the engine.

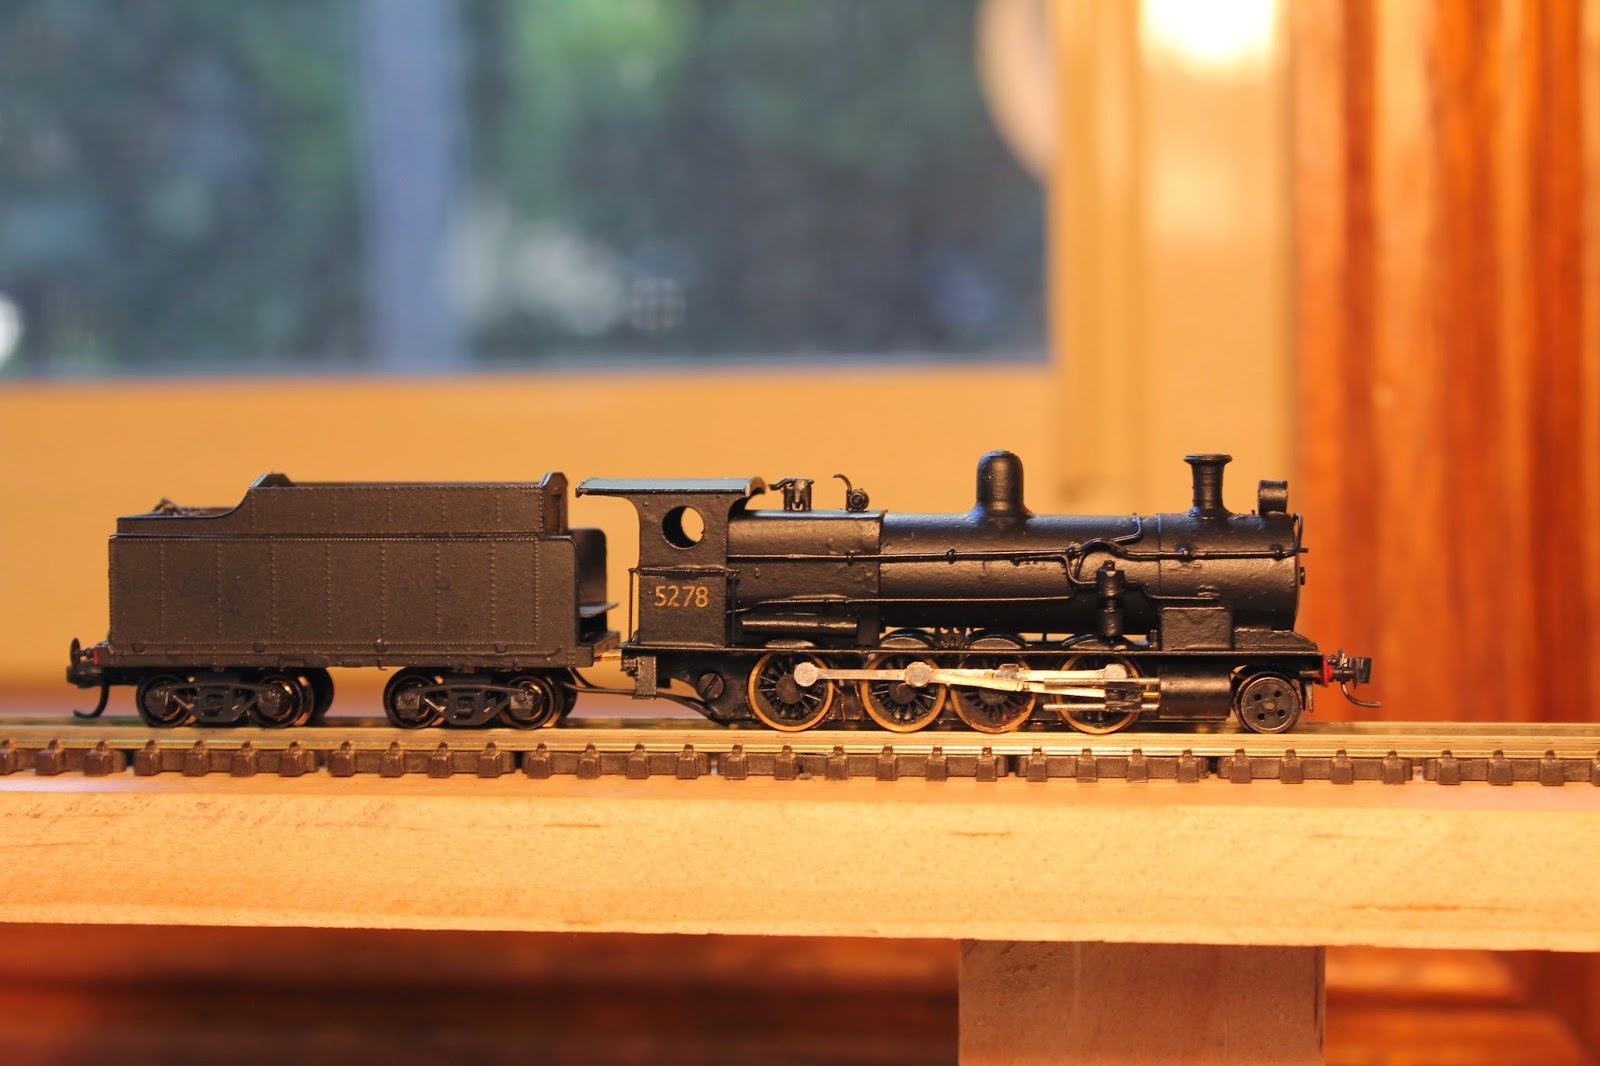
5278 - Standard goods with etched turret tender


The engine was scratchbuilt and the tender was an etch already completed which I merely made a chassis for with Kato Caboose bogies fitted for smooth pickup. The motor is mounted in the smokebox and the worm is just visible above the centre drivers.

3044 - C30 Tank Engine


My second build of a 30 class tank, this time without headlight. 


Saturday, November 22, 2014

A 73 starts to look like a 73 and a 32 is painted


I have done some more work on my 73 class project, adding some more details. Just about to move on to the handrails, which is a little bit scary. 


Above you can see how bland the loco looked compared with adding a few extra details, such as window framing which help to create the "73" class look. 


I have sprayed my pair of 32s, 3214 and 3390 (not shown) once a bit of time is allowed for the paint to cure I will begin final assembly and testing. Tamiya flat black was used, Testors Gloss coat applied prior to fixing decals and Dullcoat was used to finish. 3214 has a little bit of red along the footplate to jazz it up a little. It was very tempting to spray one of them Crimson like 3265 is at the moment. 


Sunday, November 16, 2014

Detailing and Guards Vans


My pair of 32s are ready for weight and balancing prior to applying Archer rivet decals before it is time to paint. I could add some more pipework and wiring, but in N scale it may just get lost under the paint job. Here are a few views of details added since my last post. 


 I have also made a few guards vans lately from scratch out of styrene using layers laminated together with the windows being drilled and cut with a knife prior to laminating. It worked fairly well I think, windows are Mircoscale Krystal Klear and there is a passenger in the LHG (upper photo) for added interest. In the lower van it was difficult to get the bogies to swing without fouling the underframe wire detail so some of it got cut.


Tuesday, September 16, 2014

NSW P Class


My pair of 32 Class locos are starting to come together with the boilers attached to the footplates + cabs. The beauty of doing locomotives in pairs is that you get more bang for your buck - making things in pairs instead of doing 1 then doing another later means that you have all your measurements to mark out without having to calculate them again from plans. 

Next to come is the chimneys, domes and handrails, plus some pony trucks. More coming soon.


Saturday, September 6, 2014

More locomotives from the NSWGR and the SMR

The following are some photos of recently finished projects, including a superheated 30T, SMR 10, 30 Class Tank, 36 Class and 12 class locos. The 30T - 3016 is the first time I have tried split frames with printed circuit board. 


3137 complete with driver. The rivets on this and SMR 23 are Archer Fine Transfers, purchased from Casula Hobbies, an excellent investment. 


3609 in green.


 Construction has started on a pair of 32 class locos, the chassis and the tenders are pretty much done. 

3016 needs a load of coal and a ladder, perhaps a crew too.


Vintage train locos 1210 and 1243 present for duty. 


Friday, June 13, 2014

The Fleet Expands

Recently I have been pretty busy working on various things, as illustrated below, including remaking a chassis to fit under 1709, adding finishing details to a pair of Z12 class locos and assembling some laser cut FG carriages I drew in CAD and doing up a Badgerbits TAM sleeping car: 


Wednesday, April 23, 2014

Virtually Finished Non Air Hoppers

A string of N scale Non Air Hoppers


The finished string of the start of hopefully many hoppers stand ready for use behind NSWGR 1803 with matching S truck. The S truck has a bit of brass wire bent in such a way to hold onto the chain link coupling at the end of the 'string' of hoppers. 


Microscale letters were used to represent the different colliery letters.


Chain was used to couple the hoppers together permanently and enough slack is left so that a slight gap is allowed between the buffers. 


Closeup showing the brass chain used at the end of the string of hoppers.


Wednesday, November 28, 2012

Z19 and Baldwin Tender


The progress on my Z19 continues... shown here is the progressive assembly and construction of the chassis. 


Quatering was carried out by eye and was fairly easy to achieve. I have found that the use of a 'stiff' gearbox to hold a wheel in place, the one that all the rest are quartered in relation to really helps. 


Finding appropriate sideframes for the tender bogies was a bit tricky...however a Bachmann 4-4-0 old timer tender chassis proved to have an answer... 
The horrible small 'wheels' ( I say wheels because they skid) were removed and new axle points drilled with Gopher Models wheels fitted. Wheels can be bought from http://www.badgerbits.com.au/


After the wheels and base of the tender had been sorted out, from brass and PCB the sides were looked at....

Brass formed the solution and care was necessary in marking out the various 'landmark' sections, as the sides were to be formed and bent from one piece to simplify the assembly process. 


The bent top edges were done using scribing and the jaws of my unimat vice. 


The finished bent tender top prior to soldering to the chassis. 


The footplate has had the 'splashers' added. 


Attention turned to the cutaway cab, sweating two sheets of brass together and the plan side glued to permit identical cutting. 


The finished cab soldered to the footplate and accompanying tender.